Skip to content
🎉Limited Time Offer!
Home
Category
Gifts
New Arrives
Our Brands
Blog
Home
Category
Gifts
New Arrives
Our Brands
Blog
My Account
INFMETRY
Buy now
Products
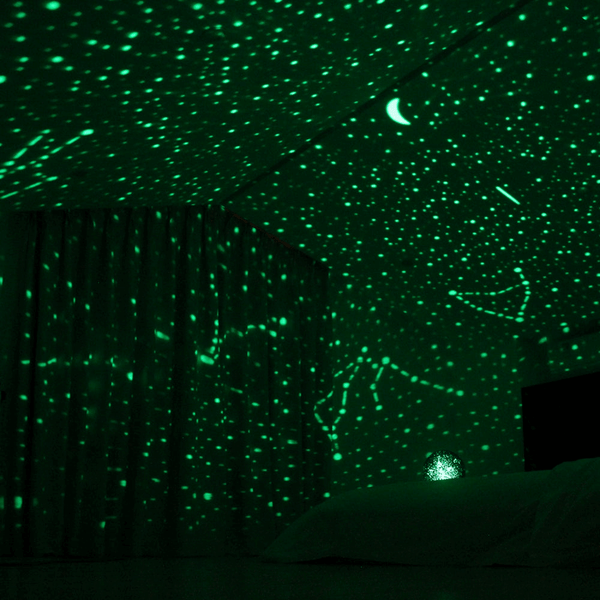
3D Printed 360 Cover Relaxing Sky Star Night Light for Bedroom
$45 USD